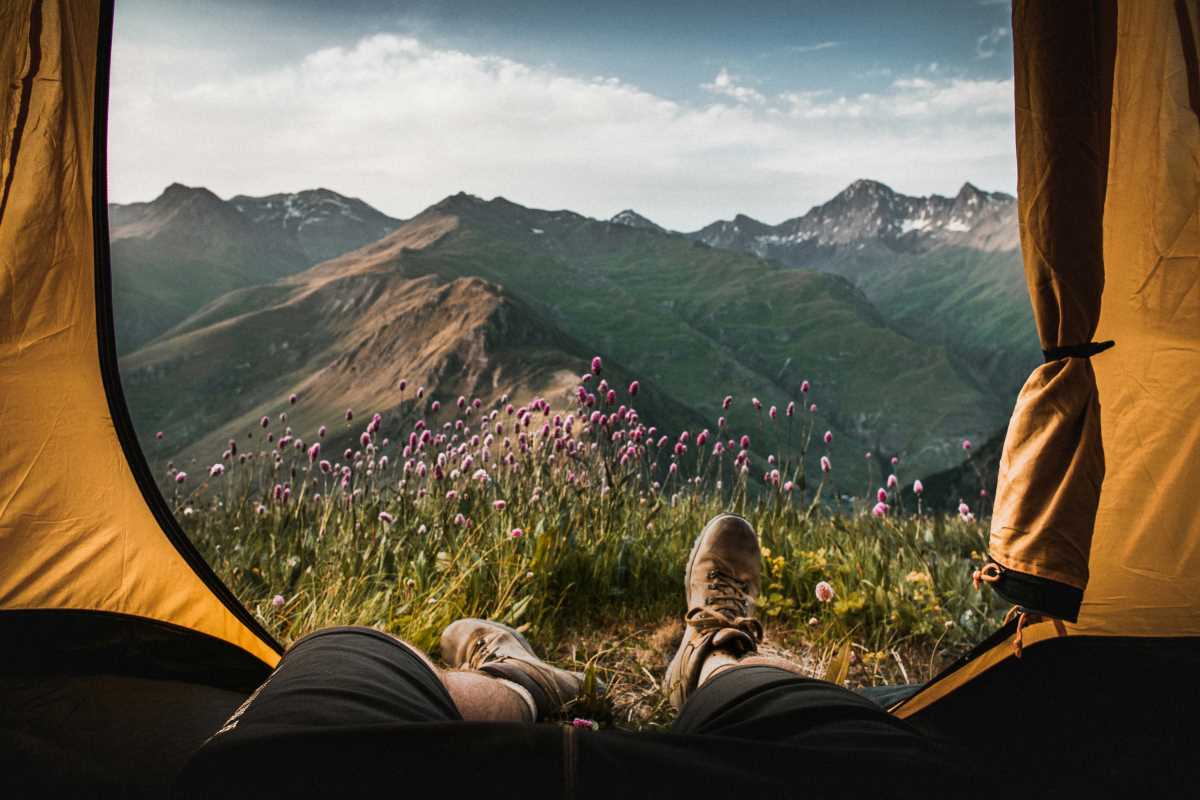
Crisp air fills every breath, while jagged peaks rise boldly against the sky. Hikers tighten their straps, feeling the subtle balance between ease and adversity. Each step brings the sound of gear shifting and boots meeting uneven ground. Rocky paths and sudden changes in weather promise both excitement and risk. Preparation becomes essential, as every choice on the trail can shape the journey ahead. Facing unpredictable elements, hikers must remain alert and ready to adapt, knowing that the mountain demands respect and careful attention with every mile.
A spirited climb rewards with sweeping panoramas and inner triumph, but every step demands respect. Navigating steep slopes without overexerting can transform a grueling crawl into an invigorating journey. Focused preparation lays the foundation for a memorable ascent.
Unseen Challenges at Altitude
- Breathing Pattern Shifts – Oxygen delivery changes above 8,000 ft.
- Steps:
- Stop moving if shortness of breath occurs.
- Count inhales and exhales on a 4-second cycle.
- Use diaphragm breathing by expanding the belly.
- Cost: Free, usable anywhere.
- Insider Tip: Practice on stairs or short runs before trekking to build rhythm.
- Steps:
- Fluid Redistribution – Low pressure causes upper-body fluid buildup.
- Steps:
- Sip water every 15 minutes instead of gulping.
- Tilt head forward and backward to aid circulation.
- Flex ankles while seated to push fluids downward.
- Cost: ~$20 for purification tabs or filter.
- Insider Tip: Use a collapsible water bottle clipped to your pack for easy access.
- Steps:
- Temperature Swings – Sun and shade cause rapid core shifts.
- Steps:
- Layer with a lightweight windbreaker.
- Keep a thin fleece in an outer pocket.
- Add/remove layers depending on skin wetness.
- Cost: Windbreakers $50–$80.
- Insider Tip: Pin a moisture-wicking scarf to your strap for quick grab-and-use.
- Steps:
- High-Altitude Dizziness – Even mild spins signal oxygen imbalance.
- Steps:
- Sit immediately to reduce exertion.
- Place head between knees if unstable.
- Sip warm, lightly salted water or broth.
- Cost: Electrolyte powders <$1 per serving.
- Insider Tip: Train your palate by drinking warm broth at home before the trek.
- Steps:
- Muscle Fatigue Timing – Muscles tire faster in thin air.
- Steps:
- Pause every 500 vertical feet.
- Stretch quads by pulling heel to glute.
- Massage arches with fingertips.
- Cost: No extra gear required.
- Insider Tip: Time breaks using trail marker colors instead of a watch to stay engaged with the environment.
- Steps:
Mastering Acclimatization
Climb smart instead of climbing hard. Pausing at intermediate altitudes allows the body to increase red blood cell production and improve oxygen transport. Learn to listen to your lungs rather than forcing a pace.
Plan shorter gains on your first days—keep vertical progress under 1,000 feet per day. If fatigue or headache strikes, stay put or descend slightly. These small decisions prevent severe altitude sickness later.
Core Safety Techniques
- Controlled Stepping – Reduce impact and preserve strength.
- Purpose: Protects joints and prevents strains.
- Steps:
- Plant heel lightly, then roll to toe.
- Keep knees slightly bent on contact.
- Use trekking poles to offload ~20% of body weight.
- Cost/Availability: Poles $40–$70; widely available.
- Insider Tip: Adjust pole length for ascents/descents to maximize support.
- Weather Recon Check – Anticipate storms early.
- Purpose: Prevents exposure to sudden weather shifts.
- Steps:
- Pause at knolls or open vistas.
- Scan horizon for dark clouds or shifting winds.
- Note cloud base height vs. peaks.
- Cost: Free, relies on observation.
- Insider Tip: Use a mirror to view the sky behind you without turning fully.
- Nightfall Signal Prep – Stay visible when dark sets in.
- Purpose: Ensures rescuers can locate you quickly.
- Steps:
- Clip a whistle to shoulder strap.
- Carry a strobe light in chest pocket.
- Practice 3 short blasts/flashes (distress code).
- Cost: Strobe lights from $15.
- Insider Tip: Test light each morning to confirm battery reliability.
- Nutrition Checkpoints – Keep energy consistent.
- Purpose: Maintains stamina and mental clarity.
- Steps:
- Divide snacks into pack-friendly portions.
- Eat a handful every hour, regardless of hunger.
- Rotate carbs, proteins, and fats.
- Cost: ~$2–$3 per energy bar.
- Insider Tip: Prefreeze bars overnight—sunlight softens them into refreshing trail snacks.
- Buddy Scan Routine – Watch each other for warning signs.
- Purpose: Detects altitude stress early.
- Steps:
- Every 2 hours, check partner for pallor and speech clarity.
- Swap roles to practice speaking clearly.
- Compare perceived breathing effort.
- Cost: Free.
- Insider Tip: Use pre-set hand signals on ridges to maintain scans quietly.
Consistently applying these techniques helps you build a record of safe, steady progress. The body responds to patterns, so repeat each routine to make protection almost instinctive.
Essential Gear and How to Use It
Selecting the right equipment matters less than mastering its use. Learn each tool’s quirks before you need it high on a slope. Practice at lower elevations or around home.
- Lightweight Shell Jacket – Shields from wind and rain without bulk.
- Purpose: Guards core temperature during weather shifts.
- Steps:
- Put on before the first chill to retain warmth.
- Zip fully and tighten hood cords to block gusts.
- Open pit zips for ventilation on steep climbs.
- Metric/Cost: 200–300 g; $80–$120. Widely available at outdoor retailers.
- Insider Tip: Clip hood liner to pack strap to secure it off-trail.
- Insulated Gloves – Keep hands warm and dexterous in freezing air.
- Purpose: Maintains finger mobility for safe handling.
- Steps:
- Try gloves with liners to ensure dexterity.
- Treat leather palms with waterproof spray.
- Store liners inside shell when damp.
- Cost: ~$50–$70.
- Insider Tip: Add chemical hand warmers inside shells at camp.
- Four-Season Sleeping Bag – Supports recovery in thin air.
- Purpose: Provides deep rest and muscle repair.
- Steps:
- Select a bag rated 10–20°F below expected lows.
- Use a liner for cleanliness and extra warmth (+5°F).
- Store in compression sack at pack bottom.
- Metric/Cost: Compresses to football size; $150–$250.
- Insider Tip: Shake out each morning to redistribute fibers.
- Sturdy Hiking Boots – Prevent slips on rugged inclines.
- Purpose: Secures stable footing on slick or rocky terrain.
- Steps:
- Break in with 5–10 mile hikes before the trip.
- Retie laces mid-hike to prevent sliding.
- Treat soles once per season with conditioner.
- Cost: ~$120–$180.
- Insider Tip: Remove insoles overnight to air-dry and reduce odor.
- Portable Stove with Fuel – Restores warmth with hot meals.
- Purpose: Provides calories and raises core temperature.
- Steps:
- Pack two canisters for a weeklong trek.
- Place stove on flat rock away from brush.
- Lower flame after boiling to conserve fuel.
- Cost: Stove ~$40; fuel $5–$7 per canister.
- Insider Tip: Wrap spare canisters in insulation for cold-weather efficiency.
- High-Altitude GPS Beacon – Lifeline when service fails.
- Purpose: Sends emergency coordinates.
- Steps:
- Charge fully before departure.
- Register trip plan on manufacturer’s site.
- Test transmission with a friend pre-trip.
- Cost: ~$250; online availability.
- Insider Tip: Keep in jacket pocket for quick access without unpacking.
Master these tools to turn them into extensions of your skills. Practice makes perfect, giving you confidence in tough conditions.
Preparing for Emergencies
Carry a compact kit with essentials like blister patches, gloves, a multi-tool, and a signaling mirror to handle unexpected delays. Review emergency procedures with partners and keep supplies easily accessible. With preparation and practiced routines, risks become manageable and every climb stays safer.